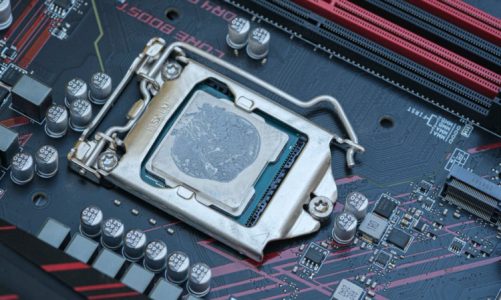
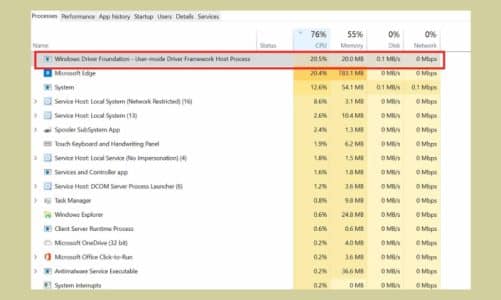
Before we learn how to unpark the CPU, it’s important to know about CPU parking. In simple words, CPU parking is a technique used by your operating system to shut down idle cores on your processor to save energy. So, when there’s no load on a core, there would be no power consumed by it. It is something similar to parking your car, when your car is parked, it does not consume any fuel.
Alternatively, to bring the idle core back to work, you’ll have to unpark your CPU. So CPU unparking is the method of bringing back a CPU core to its full functionality. Therefore, when you unpark your CPU, what your operating system does is it will assign some special power management values to your CPU.
As a result, your system will use unpark the sleeping cores when there’s extra load on your CPU. This will enhance the overall performance of your system while maintaining power consumption at the same time.
Contents
Reasons to Unpark A CPU?
Well, there are multiple reasons behind this, and some of the main reasons are discussed below:
Performance: One of the primary reasons to unpark a CPU is to boost its performance. Some multi-threaded tasks like web browsing, web servers, text editors, AAA games, content creation, etc are heavily dependent on a powerful CPU. At this point, calling your idle CPU cores back to work can result in faster performance.
Overclocking: If you are a hardcore gamer, then unparking your processor could help you in achieving higher performance in gaming as you overclock your CPU.
Compatibility: Some programs need extra cores to work properly. So unparking the sleeping cores on a CPU can result in smoother performance as you run those programs on your computer.
Power Consumption: When some cores on your CPU are parked, then your CPU is not running at its full potential. So unparking cores can result in better performance as it avoids thermal throttling, which occurs when the active cores are fully used and the overall temperature of the CPU rises. To prevent any further damage, the CPU itself reduces the performance to lower the temperatures to an optimal level.
Methods on How to Unpark Your CPU Safely
Here are some of the methods you can follow to fully utilize all the cores on your CPU:
Method 1: Unpark the Cores Using the Software
If you are a noob and don’t want to have a lot of technical knowledge about computers, then it’s better to leave everything on third-party applications to do this job. You can simply download software called Unpark CPU. You can also use another utility called “ParkControl” for this purpose. However, the one we are using here is the most effective and easy to use.
Once you download and install it, just simply launch it right away.

As you can see in the image above, this software shows you the current status of your all cores. At the moment, there are “0” parked cores and “8” enabled cores on my computer. All you need is to simply click on the “Unpark All” button and then “Apply“.
Once done, simply restart your computer and once you get back into Windows, relaunch this program to check the status of your CPU cores. It’s that simple!
Methods 2: Manually Editing the Registry
So, this is a bit technical as this involves manually editing some values in the Windows Registry. The same values are altered automatically by the software that we used in Method 1.
By changing the registry settings, you can simply disable the automatic parking of CPU cores.
Below are the steps that you need to follow in order to successfully edit and save your registry values.
Step 1:
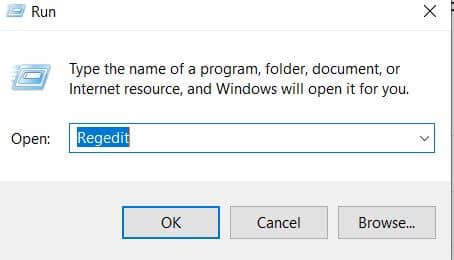
Press Windows Key + R to launch the search bar. Now type “Regedit” in the search bar and press “Enter“
Step 2:
Once you complete Step 1, you will see the Windows Registry Editor window like the one below:

Click on the “Edit” tab at the top of the screen and then select “Find“. Once you are there, paste the following registry value in the box and click on the “Find Next” button.
0cc5b647-c1df-4637-891a-dec35c318583
Step 3:
In Step 2, it might take a little time to find the required value, once it is found, a new window will open up as shown in the image below.
Within this section, you have to change the “HighRange” and “LowRange” values. If you are using Windows 7 or 8, then you may see these values named as ValueMax and ValueMin. I’m using Windows 10, so these values are different for me, but these serve the same purpose.
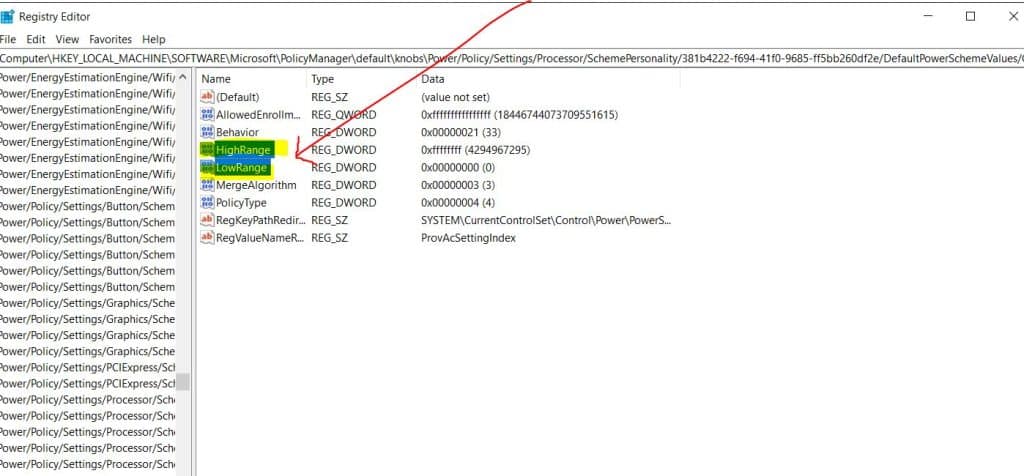
Open these folders one by one and set the Hexa value to “0” and then click on OK.
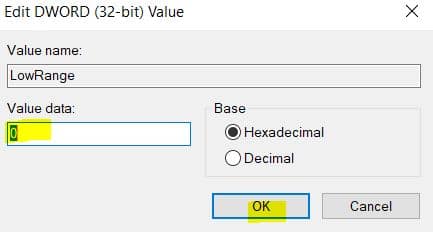
Now restart your computer to finalize the settings. Once you get login back into Windows, launch the Unpark CPU software. You can use this software to verify if all the cores on your CPU are active.
Method 3: Using Powershell to Disable Parking of All Cores
PowerShell is a command-line method that you can use to activate all the idle cores on a CPU. Here are the commands that you can execute to unpark your CPU cores.
By using this command, you are signalling the operating system to use the 100-performance state of your CPU. A performance state is a setting that allocates the percentage of your CPU resources available to be used. A higher value indicates that most cores are being used whereas a low value represents that some cores could be parked.
To disable CPU parking, you can use the following PowerShell command:
Powercfg -setacvalueindex 381b4222-f694-41f0-9685-ff5bb260df2e c3161b0a-c2e4-4f0e-8f96-c8bef48e9f8f 100
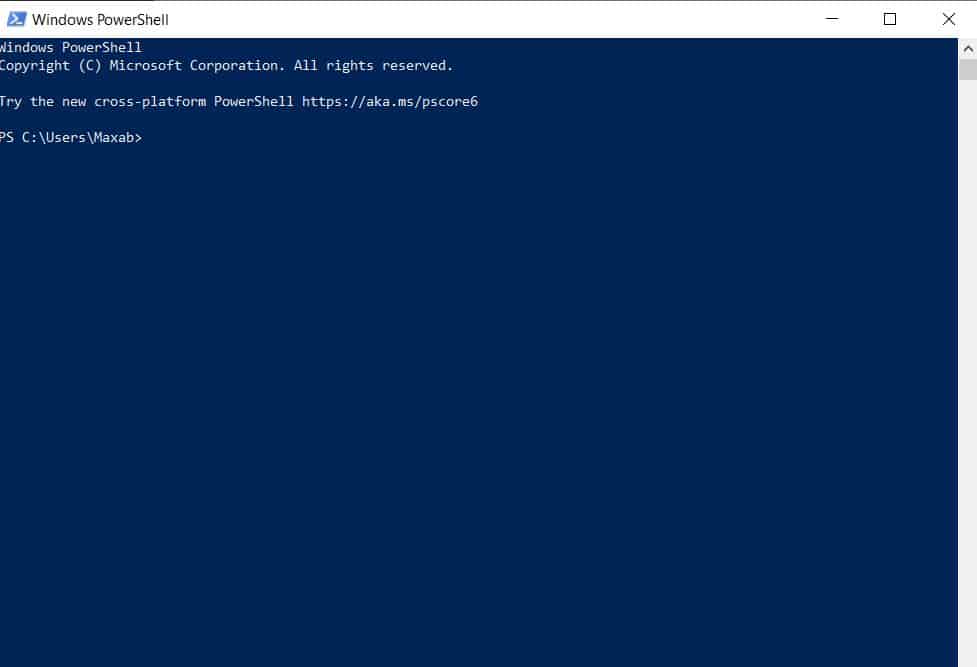
The PowerShell command prompt is a built-in utility in most versions of Windows. You can simply open this utility by pressing the Windows + X key and then typing “PowerShell“.
Once the utility opens, you can simply copy and paste the code provided in this method. Just paste it and press Enter.
Note: Make sure you have administrative rights when running this command.
Method 4: Using Command Prompt
It’s another simple method that you can follow to unlock the full potential of your CPU. All you need is to open up the command prompt and paste the following command:
powercfg -setacvalueindex scheme_current sub_processor PROCESSOR_PERF_DECREASE_THRESHOLD 100
What this command does is set the threshold for parking to 100% utilization, thus preventing the CPU from being parked.
Here are the steps you need to follow in order to properly execute this command:
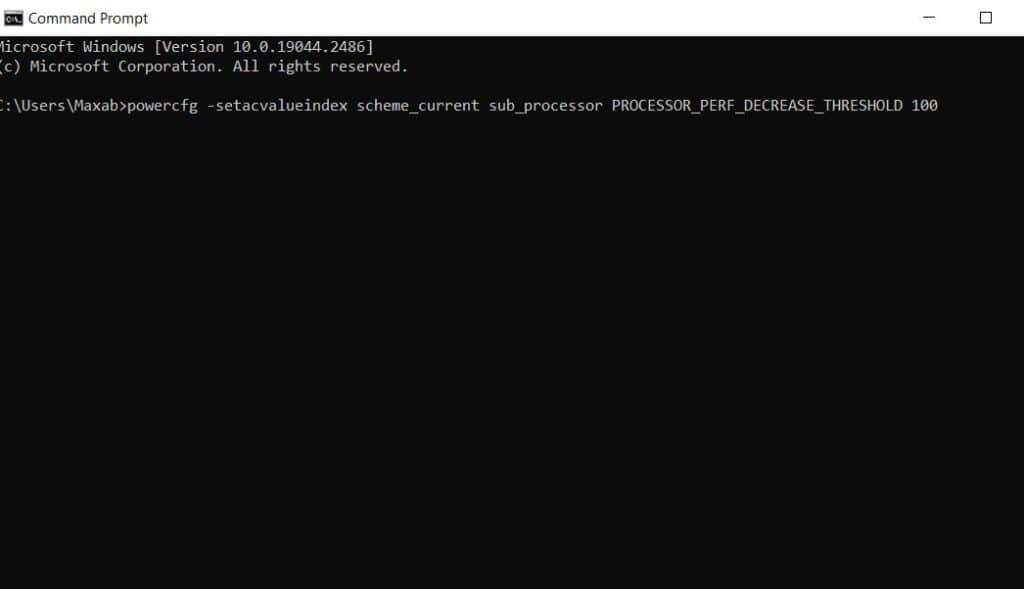
- Launch the Command Prompt from your computer as an administrator. Once launched, simply enter the above command and press “Enter” to execute it.
- To check the current setting, you can use the command “powercfg -getactivescheme” and check the value of “PROCESSOR_PERF_DECREASE_THRESHOLD
Is It Safe to Unpark CPU Cores? Potential Risks to Know
Yes, it is totally safe as it improves the performance of your computer. However, this can also increase the power consumption of your system at the same time. If somehow you are using a laptop that has a weak battery life, then unparking your CPU could result in faster battery drain.
Another downside is to this is lot of heat generation as all the cores on your CPU would run at full potential. And this in some cases could end up in thermal throttling if your CPU hits higher temperature range. I personally recommend using a high-end CPU cooler if you are unparking your CPU for tasks like overclocking.
When the cores are unparked and running at full capacity, this could end up in instability issues if you are not using a proper cooling system. This can put a lot of stress on the CPU and can ultimately crash the operating system.
Conclusion
All in all, you can unpark your CPU to boost your system’s performance. The methods I have listed in this guide are the most effective and safest to execute. If you are a beginner, then I recommend you to start with the third-party software mentioned in the Method 1. All you need is to download and install it, and it’ll active all the resting cores on your CPU.
You now know that there are some potential risks involved with this method, so make sure you are using a reliable cooling solution to avoid any issues. Hope this guide helps you in safely unparking your processor. Let me know if there’s any other method that you have to share with our community.

Hi, my name is Masab, a die-hard PC enthusiast and founder of this blog. I love to share my prior experience with computers on this blog. Ask me anything about building a PC or troubleshooting PC errors, I’m here to help.

